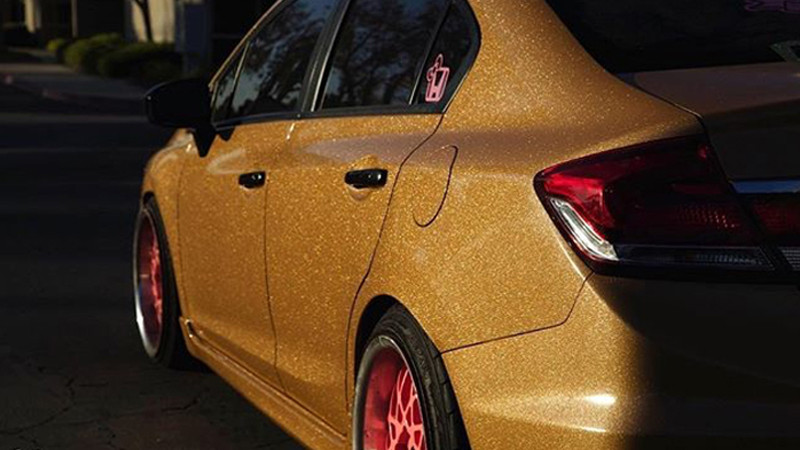
How to Remove Diamond Vinyl Wrap Without Damage

Vinyl wraps, especially those with a diamond finish, are a fantastic way to give your vehicle or other surfaces a sleek, customized look. However, when it's time to remove the wrap, you'll want to ensure the process doesn't damage the underlying surface. With the right tools and techniques, you can safely remove the Diamond Vinyl Wrap while keeping your car or object in pristine condition. Here's a step-by-step guide to help you through the process.
Step 1: Gather the Necessary Tools
Before starting, make sure you have the following items ready:
- A heat gun or hair dryer
- Plastic scraper or squeegee
- Adhesive remover (safe for your surface)
- Microfiber cloths
- Gloves (optional, for safety)
Step 2: Work in an Ideal Environment
Choose a clean, shaded area to work in. Direct sunlight can make the surface too hot and cause uneven heating, while cold environments can make the vinyl brittle and harder to remove. A temperature range of 70–80°F (21–27°C) is ideal.
Step 3: Heat the Vinyl Wrap
Using a heat gun or hair dryer, gently warm up a small section of the vinyl wrap. Start at one edge or corner, as this will make it easier to lift. Be careful not to overheat the material, as excessive heat can damage the paint or surface underneath. The goal is to soften the adhesive backing without melting the vinyl.
Step 4: Peel the Vinyl Slowly
Once the vinyl is warm, use your fingers or a plastic scraper to lift one corner. Slowly peel it back at a 45-degree angle. Avoid pulling too quickly or at a sharp angle, as this can leave adhesive residue or even damage the surface. If you encounter resistance, reapply heat to loosen the adhesive further.
Step 5: Remove Adhesive Residue
After removing the vinyl wrap, some adhesive may remain on the surface. Apply an adhesive remover that is safe for your specific material (e.g., automotive-grade adhesive remover for cars). Let it sit for a few minutes to break down the residue, then gently wipe it away with a microfiber cloth. Avoid using harsh chemicals or abrasive tools that could scratch or harm the surface.
Step 6: Clean and Inspect the Surface
Once all adhesive residue is gone, clean the surface with soap and water or a gentle cleaning solution. Inspect for any damage or imperfections. If needed, apply wax or polish to restore the shine and protect the surface.(Red Vinyl Wrap)
Tips for Success
- "Test in a Small Area:" Before removing the entire wrap, test your method on a small, inconspicuous area to ensure it doesn't damage the surface.
- "Be Patient:" Rushing through the process can lead to mistakes. Take your time to avoid unnecessary damage.
- "Seek Professional Help if Needed:" If you're unsure about removing the vinyl yourself, consider hiring a professional to ensure a safe and damage-free removal.
By following these steps, you can successfully remove a diamond vinyl wrap without harming the underlying surface. With care and attention, your vehicle or object will be ready for its next transformation or return to its original state!
